


Sharing a quiz with access codes
FlexiQuiz makes it easy to secure your quiz with access codes that let you decide who can view your tests.
You can give learners a unique code to grant them access to your quiz. Learners can only view your test at the times you specify through the dedicated landing page and quoting their code.
How to share a quiz with access codes
- To start, create a new quiz or edit an existing one.
- Then, select the Publish tab to choose how you want to share your quiz with learners.
- Click on the Access codes box to open the set-up screen.
-
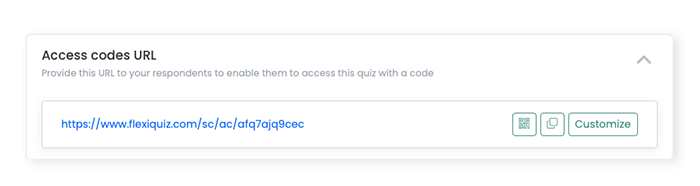
The access code URL, which you must provide to all learners, is at the top of the page. You can customize the URL with your organization's name or details about the quiz.
-
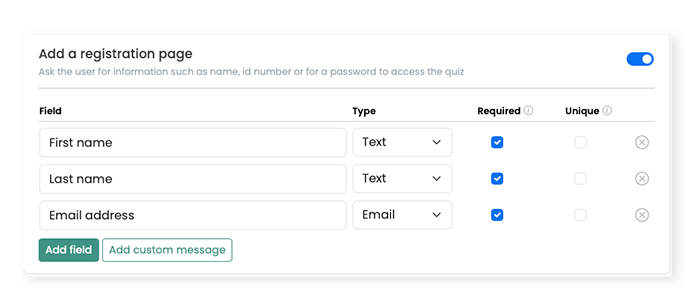
Scroll down to Add a registration page and select the toggle to include a registration page at the start of your test. Learn more about configuring the registration page.
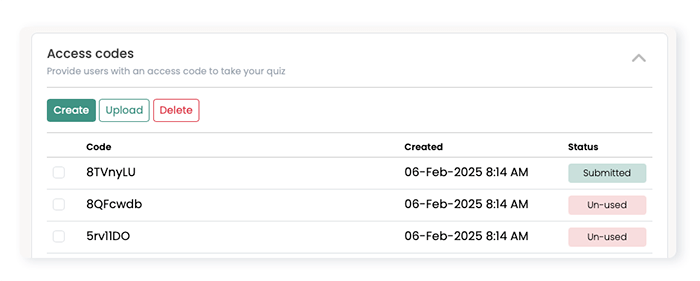
- Scroll down to the Access codes box. You can allow the FlexiQuiz system to automatically generate the codes for you or add your own.
- To generate random codes, click Create. A window will appear to check how many codes you want to generate. Enter the number of codes you require in the Total access codes box. Then, click Create codes. The codes will instantly appear on your Access codes list.
-
To add your own codes, click Upload. A window will appear for you to enter your codes. Then click Upload. The codes will instantly appear on your Access code list.
Top tip! You can use the same access code on multiple quizzes.
- Share the Access code URL and an access code with each student.
- You can track if someone has joined the quiz with the access code in the status column.
- Once learners start the quiz with the code, you can track their progress and results on the Analyze screen.
Learners can only use the access code based on the maximum number of allowed quiz attempts and when it's open.
Frequently asked questions
Can I view the results for each code?
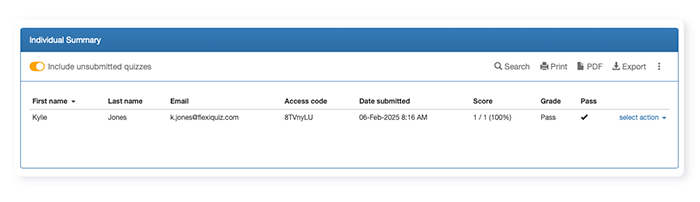
Yes, you can view the results on the Analyze screen.
- From the Analyze screen, select the Individual Summary report type.
- Then, go to the results table and click on the three dots.
- Choose Configure columns from the drop-down menu. A reports fields list will appear.
- Tick the box for access codes and click Save.
- The column for access codes will now appear on your individual summary report.
What is the difference between email invitations and access codes?
Both options allow you to secure access to your quiz, select who views it, set the maximum quiz attempts and track responses.
With Email invitations each user is sent a unique URL to view their quiz content. Learners can only access the quiz using the unique URL they receive by email. You can track progress with the learner's email address.
Access codes also allow you to control access to the quiz. However, you do not need the user's email address. You can also give learners an access code that they use across multiple tests.
What is the difference between access codes and a password?
The access code is different for each person. Learners can only use the code to access your quiz the number of times you set in maximum quiz attempts.
For example, if the maximum number of quiz attempts is 5, learners can use the code 5 times.
Passwords (which can be a mix of letters and numbers) are the same for everyone. The learner enters the password on the registration page. There is no limit to the number of times people can use the password – to restrict the number of allowed quiz attempts, you need to make one of the registration fields unique.
Access codes are unique for each user.
Can I delete an access code?
Yes, you can stop people from being able to access your quiz with an access code.
- Go to the Publish screen and select Access codes.
- Now, scroll down to the list of codes.
- Tick the box next to each code you want to delete.
- Click delete.
What is the experience for test-takers?
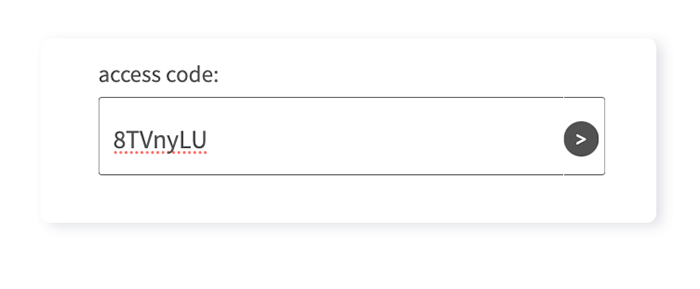
Test-takers can only enter the access code on the landing page that they access with the URL above.
The landing page includes a box to enter their access code. Once test-takers enter the code the registration, welcome or first quiz page opens.
Relevant help guides: